Featured Slider

Showing posts with label eye make up. Show all posts

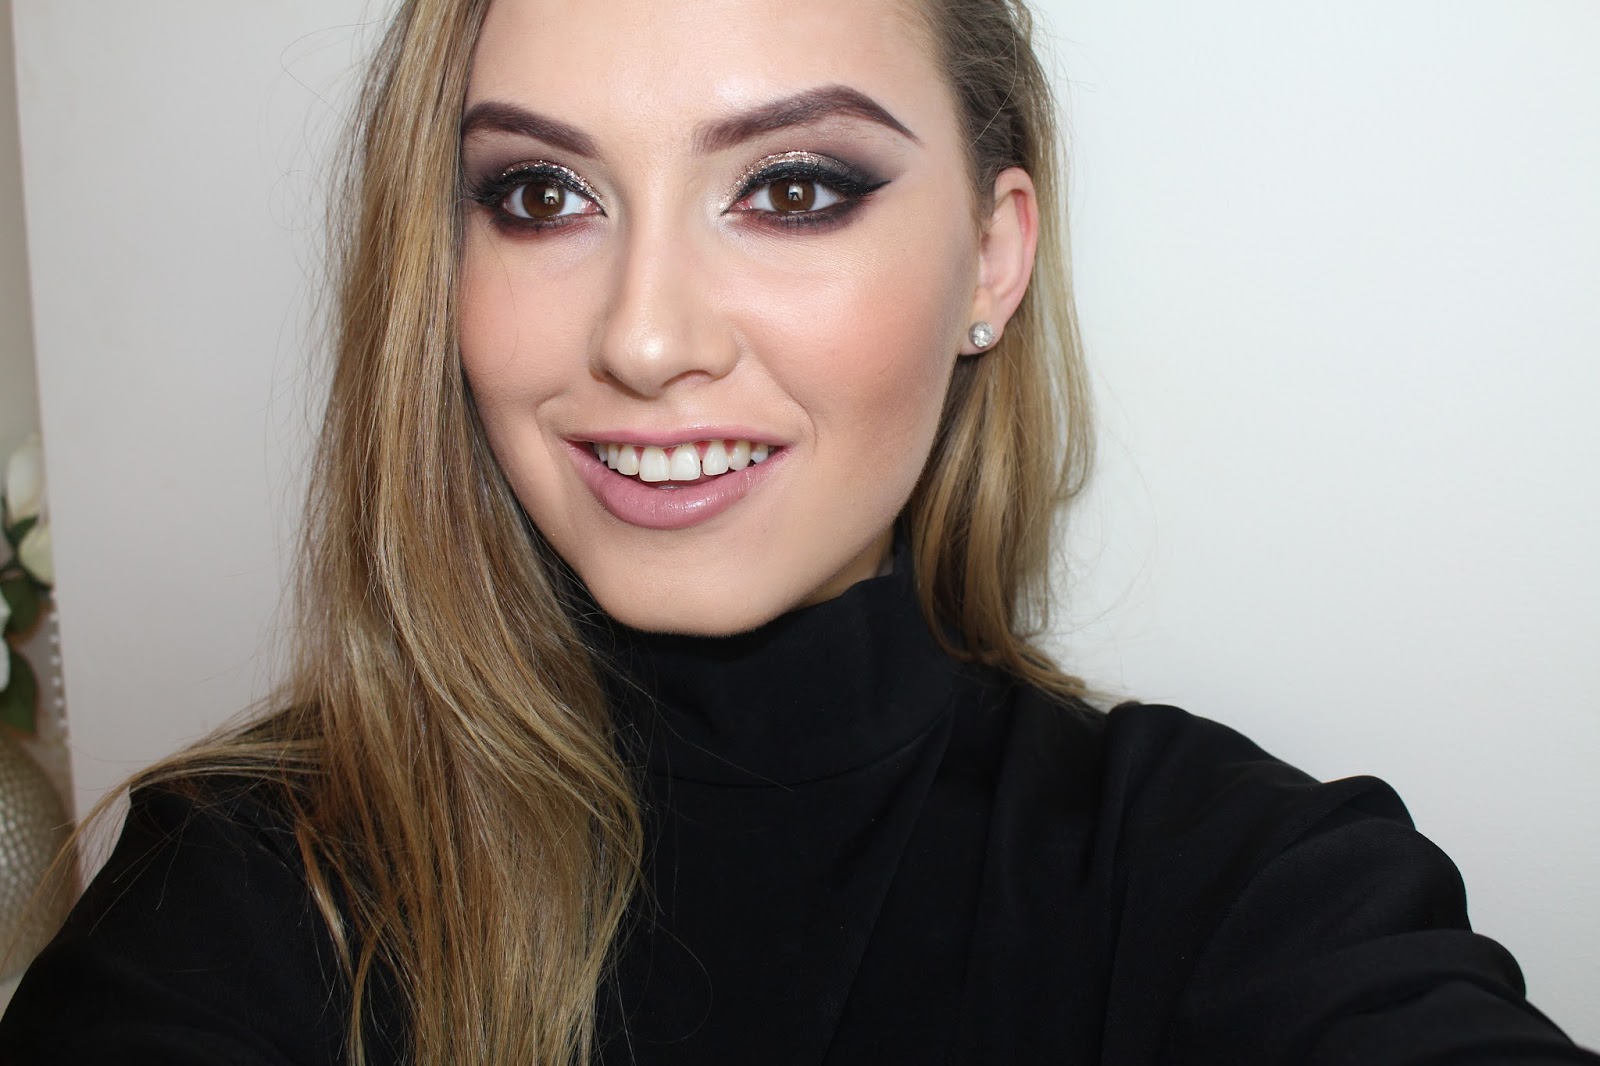
Purple Smokey Eye With Pink Glitter | Video Tutorial


This video tutorial took agesssssssssss to upload , countryside wifi for you ! To be completely honest I am such a creature of habit that I always go with brown & gold smokey eye on myself for a night out . If I was wearing a black dress or something really simple I would dress it up with a more dramatic make up look like this one .

Its a spotlight eye so I blend out the eyeshadow in the inner & outer part of my eyelid , leaving the centre free of eyeshadow . I then apply the pink glitter to the centre of my eyelid . You can use glitter glue or eyelash glue for this .

Glitter can be messy to work with so I would recommend doing your eyes first just so you can remove any fall out before applying your foundation .


Click 'HERE' to watch the full video in HD & wider screen . Please Subscribe to my YouTube Channel if you like my videos , I upload weekly .


Products I used

Eyelid Primer : Mac Paint Pot - Soft Ochre
Cream eyeshadow : SOSU Contour Palette
Light Brown Eyeshadow : SOSU Contour Palette
Purple Eyeshadow : Urban Decay - Psychedelic Sister
Pink Glitter : Penneys/Primark Glitter
Glitter Glue : Penneys/Primark
Black Eyeshadow : Blank Canvas Cosmetics Pippa Palette - K.D
Felt Tip Liner : Collection Felt Tip Liner
Liquid Liner : Wet N Wild
Eye Pencil : Ted Baker Black Eye Pencil
Mascara : Maybelline - the Falsies
Fake Eyelashes : Penneys/Primark 'Sultry' Lashes
Fake Eyelash Glue : Duo Glue

If you have any questions or tutorials you would like to see feel free to message me .

Thanks For Reading / Watching !
Alannah x

Cranberry & Rose Gold | Eye Make Up Tutorial


This weeks make up look is on this eye look that I wore in last weeks SOSU contour palette tutorial . Its a way to incorporate colour into your make up without being over the top . Cranberry & burgundy tones are especially nice on green eyes as they are the opposite on the colour wheel & really make the eyes pop.

Its a half cut crease look so there is a defined cut at the inner part of the eyelid then the outer part of the eyelid is more blended .


Click 'Here' to watch this video in HD & a wider screen . If you like my videos please subscribe to my channel  .


Product List

Eyelid Primer : Mac Cosmetics Pro Longwear Paint Pot - Soft Ochre
Cream Coloured Eyeshadow : Anastasia Beverly Hills Modern Renaissance Palette - Tempera
Burnt Orange Transition Shade : Anastasia Beverly Hills Modern Renaissance Palette - Burnt Orange
Cranberry Eyeshadow : Anastasia Beverly Hills Modern Renaissance Palette- Venetian Red
Rose Gold Pigment : Peaches & Cream - Luxe Pigment
Spray(used to wet my brush before applying the pigment) :
Black Eyeshadow : Blank Canvas Cosmetics Palette - K.D
Black Eyeliner Pen : Collection Extreme 24 Hour Felt Tip Liner
Black Eyeliner Pencil : Ted Baker Black Eyeliner Pencil (From A Christmas Gift Set From Boots)
Mascara : Rimmel ScandalEyes Show Off Mascara
Fake Eyelashes : Ardell Natural Lashes Wispies
Eyelash Glue : DUO Striplash Adhesive

Hope you all enjoyed this tutorial & found it easy enough to follow .If there is any tutorials you would like to see , let me know .

Thanks for Reading/Watching .
Alannah x

Gold Glitter Smokey Eye | Make Up Tutorial


Its the busiest month of the year for a make up artist , between staff nights out , new years , boxing day  , 12 pubs & weddings its a very busy month . This make up look would be perfect for a night out over Christmas , its a nice dramatic gold glitter smokey eye . I prefer this look with a nude lip ( my favourite lip colour) but you could pair it up with a red or even plum lipstick if your feeling brave .
I hope my tutorials help anyone who forgot to book a make up artist on time or who is trying to do there make up themselves for any of these nights out .


Watch in HD : click here .


I was inspired by Arabic eye make up with the winged eyeliner , they drag the eyeliner downwards in the inner tear duct , elongating the eye . If you have close set eyes , I would avoid doing this because it can make your eyes look even closer together . Instead I would just brighten up the area making your eyes look further apart by using a cream or white eyeshadow .

Products Used

Eyelid primer : Mac Paint Pot - Soft Ochre
Orange Eyeshadow : Anastasia Beverly Hills Modern Renaissance Palette - Realgar
Brown Eyeshadow : Anastasia Beverly Hills Modern Renaissance Palette - Cyprus Umber
Black Eyeshadow : Sleek Makeup - Oh So Special Palette
Gold Eyeshadow : Anastasia Beverly Hills Modern Renaissance Palette - Primavera
Glitter Glue : Penneys/Primark
Gold Glitter : Penneys/Primark (Glue & Glitter came in a set with two other glitters in Blue & Pink)
Liquid Eyeliner : Wet n Wild H2O Proof Liquid Liner- Ultra Black
Eyeliner Pencil : Mac Eyeliner Pencil - Coffee
Mascara : Maybelline Mascara - Falsies Flared - Black
Eyelashes : Poundland
Eyelash Glue : Duo Glue - Clear

I uploaded on YouTube every week this month ! I hope to keep it up , you can check out my YouTube channel by clicking here .

Thanks for watching/reading .
Alannah x

Brown Smokey Eye | Beginners Guide


If you're looking for a eye make up look that will go with any lip colour , outfit or eye colour then this is it . A simple brown smokey eye is suitable for nearly any occasion. I used tape in this video which will help if your a beginner , just remember to blend the edge with a blending brush after you remove the tape so its not too harsh . If anyone has any questions or any thing feel free to leave a comment or message me , I am always happy to help .

Products Used In The Video

Primer : Mac Paint Pot - Soft Ochre
Cream Eyeshadow : Sleek Cosmetics 'Oh So Special Palette'
Light Brown Transition Colour : Make up Geek - Latte
Darker Brown Eyeshadow : Sleek Cosmetics 'Oh So Special Palette'
Mascara : Maybelline Great Lash Mascara
Liquid Eyeliner : Wet n Wild Black Liquid Eyeliner
Eyeliner Pencil : Mac Eye Pencil - Coffee
Fake Eyelashes : Ardell Natural 110 Eyelashes

The lipstick I am wearing at the end of the video & in the picture is by a French make up brand called Peggy Sage in the shade 223 . Available : here .

My Youtube Channel : Click Here

Any video/blogposts you would like to see ?

Thanks for watching/reading!
Alannah x

Eye Strobing | The Lastest Beauty Trend


After the Met Gala I have seen quite a few magazine articles on eye strobing saying its the lastest make up trend seen on celebrities on the red carpet  . Eye strobing as they call it has been used in the make up world for years and is not something that has just recently became a thing . It makes your eyes appear bright ,bigger and more awake .

Strobing is adding highlight to the skin to make certain points of your face stand out , eye strobing is basically the same but on the eyes .  It brightens up the inner corners of your eyes .

This is really flattering especially on people with close set eyes (eyes that are close together) because it gives the illusion of the eyes being wider apart instead of drawing them closer . Victoria Secret Models are forever using this technique because it works really well with glowing skin .

How To :
Using  a white eyeliner pencil (I used Nyx Jumbo Pencil In Milk) apply it to the inner corners of your eyes . With a pearly white(I used Urban Decay eyeshadow in Bootycall) or a light silver eyeshadow apply it using your finger or a small brush on top of the white eyeliner .


Are you  a fan of this look ?
 
As you can probably tell I am a huge fan .
 
Thanks For Reading ,
Alannah x


3 Tips for Blended Eyeshadow


If your finding it getting that gradually blended out smokey eye this is the blogpost just for you . Here I have written three tips that really help achieve that blended eyeshadow look . Some of you may already do theses three things but if you don't you should because they make such a difference .

Tip 1 : Apply eyelid primer to your eyelids . This makes the eyeshadows more pigmented , stay on and not crease . It also cancels out the pigmentation from veins etc from your eyelid leaving you with a blank canvas to work on .

Tip 2 : Set your eyelid primer with a neutral shade eyeshadow . I usually use a cream coloured eyeshadow with a fluffy eyeshadow blending brush over the eyelid primer  , this makes blending out your eyeshadow easier and it blends out evenly instead of going blotchy .

Tip 3 : Use a transition shade . Game changer , this really create that blending out smokey look . With a fluffy eyeshadow blending brush blend a shadow that's lighter then the colour in your crease into your eye socket . This creates a nice gradual fade from eyeshadow into skin .

That's it for todays blogpost , hope you all had a nice weekend and I will have a new blog post up again shortly .

Alannah x

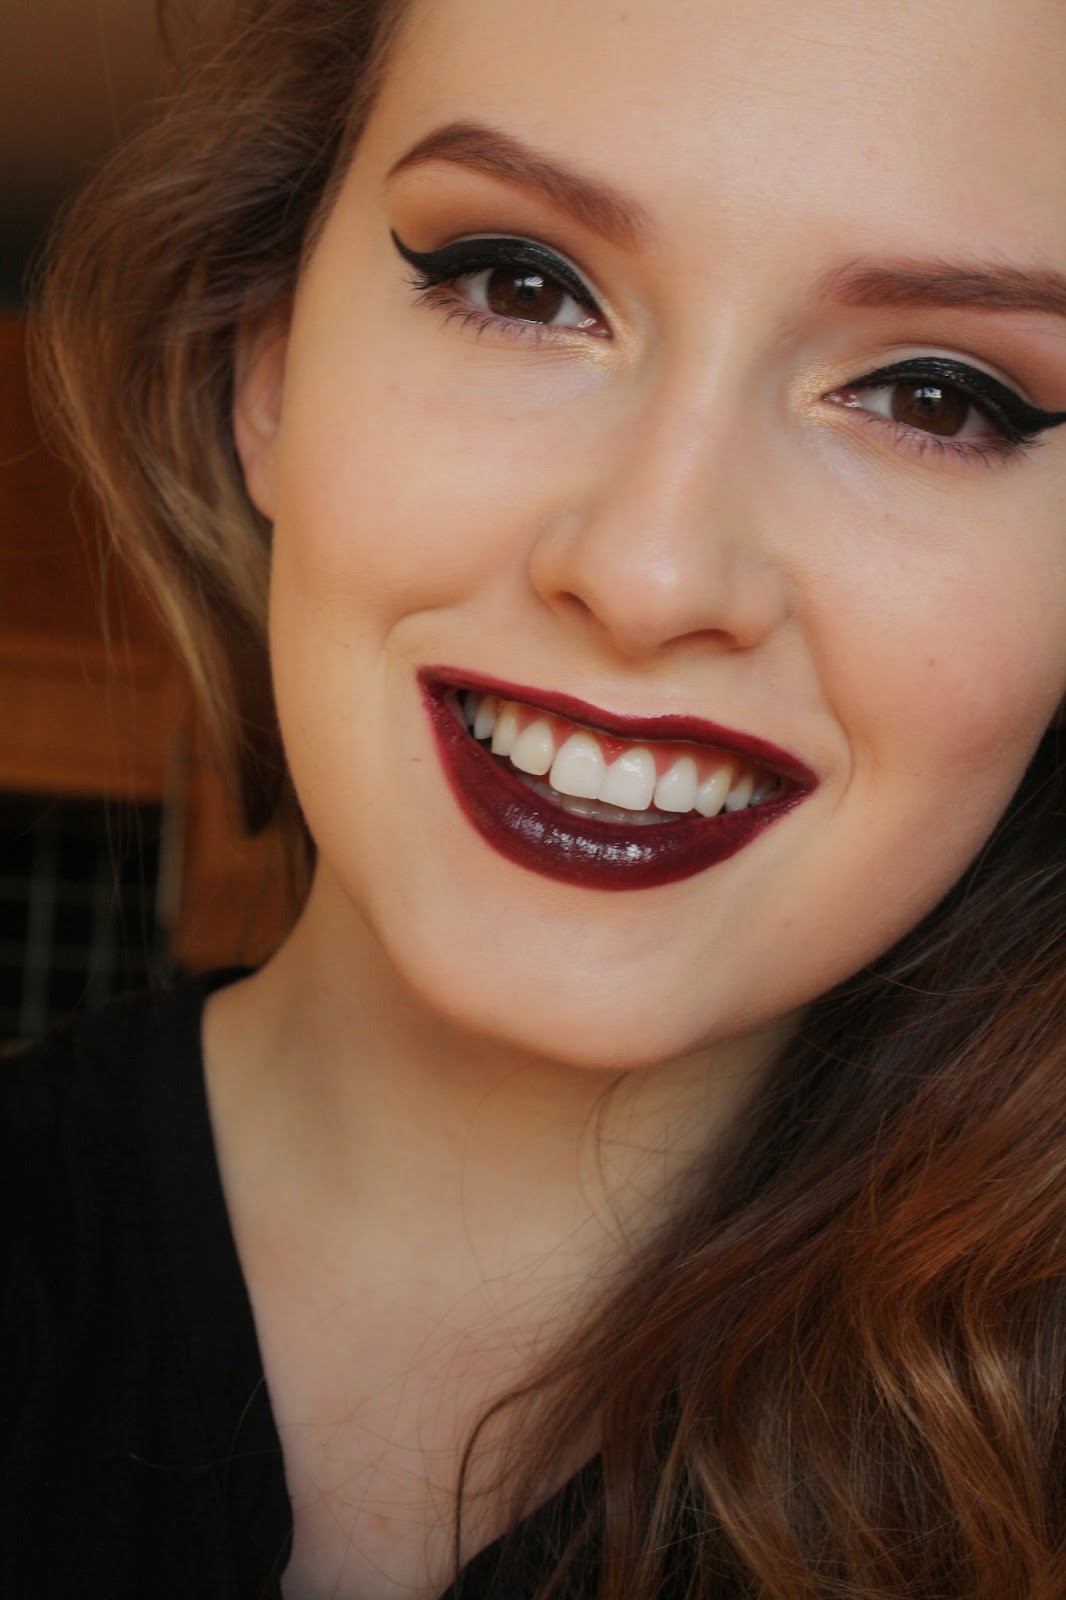
Eye Makeup To Compilment Dark Lips - Step By Step


Dark lips are seen as a winter trend . In Ireland its feels like its always winter . Dark lips and dark eye make up can clash and are really hard to pull off . When your wearing a dark lip its nice to have an eye make up look that complements the look and is not completely boring. So I thought I would do a blog post on how to achieve this eye make up look that works well with dark lipstick . Oh and the lipstick is from Avon in the colour Vixen, enjoy .

Step 1 : Prime your eyelid using a concealer(i used collection 2000 lasting perfection concealer)  to make the pigment in your eyeshadow more vibrant use your finger to blend it out. 

Step 2 : Using a fluffy blending brush blend some light brown eyeshadow(i used Inglot eyeshadow) into your crease . Make sure its well blended . 

Step 3 :Using black eyeliner(I used Inglot gel eyeliner) starting from the inner corner of your eye drag it out wards an create a flick at the end . 

Step 4 : Apply a black eyeliner pencil(I used MUD pencilled liner) on the tight line of your eye .
 
Step 5 : Using a medium sized eyeshadow brush apply some gold eyeshadow to your inner tear duct (I used half baked from the Urban Decay Naked 2 palette) . 

Step 6 : Apply your favourite mascara (i used Maybelline Great lash blackest black mascara) .

Sorry for the lack of posts the last while , had plans for something new for my blog in 2015 but I'm putting it off for a while because a few things (college etc) . So for now I will be doing my normal make up blog posts . Hope everyone had a nice christmas and have a happy new year :) .


Burnt Orange and Cream - Make up Step By Step


My next look I will need to focus on the lips because this look is once again all about the eyes . Burnt orange is one of my favourite colours for eye make-up especially on blue eyes, It really makes blue eyes pop! I did this make up look before work one morning while watching an episode of gossip girl at the  same time and if I was to do it again there is a few things I would of perfected more and maybe have applied some individual lashes . But I like the over all look so I thought I would write a step by step guide on how to achieve this make up look .


Eyes  
 
Step 1 : Coffee (or any source of caffeine)
Step 2 : Apply Nyx Jumbo Eye pencil in Milk all over your eyelid and blend it out with a fluffy blending brush.
Step 3 : Using Foxy from my Urban Decay Naked 2 palette I packed it over the milk eye pencil , not applying any cream to theouter corner of my eyes .
Step 4:I then blended out Make up Designory blush in brick with a fluffy brush into my socket.
Step 5 : Apply some of the same Make up designory blush under your eyelid using a small flat brush.
Step 6 : Darken up your socket then by applying some dark brown eye shadow with a pencil brush.
Step 7 : Using my black inglot gel eyeliner in 77  I winged out the eyeliner and applied some of the black eyeliner to my tight line .
Step 8: I then applied Make up Designory eye pencil in Auburn to my waterline .
Step 9 : Coat your lashes with some mascara , I used Maybelline Great lash in Blackest Black.


Eyebrows

Step 1 : I Used Maybelline New York master shape eyebrow pencil in dark blonde, it has a waxy fomula that keeps my eyebrows in place.
Step 2: Using and angled brush I used my favourite Inglot Eyeshadow - Matte Brown 342 to fill in my brows .
Step 3 : I then concealed around my eyebrows with Graftobian HD glamour cream in sunrise flush.


Skin

Step 1 : Mix mac studio fix foundation with my embroylisse lait crème to get a lighter coverage.
Step 2 : With a fluffy brush I applied mac pinch o peach(discontinued ,peach by nyx is similar) blush to the apples of my cheeks.
Step 3 : Applied some Sleek bronzer from the face form palette in fair under my cheekbones and on my temples.


Lips

Step 1 : I then ate my breakfast and by this time I was nearly running late so I applied some rosy lips  by Vaseline to my lips .