Featured Slider

Showing posts with label black gel eyeliner. Show all posts

Indepth Winged Eyeliner Video Tutorial

One of the most daunting make up tricks , winged eyeliner . If you know me you will know that I am a big fan of winged eyeliner & probably should have wings permanently tattooed on my eyes at this stage . So you could say I've had a lot of practice . I hate to say it but the old saying 'practice makes perfect' applies here . Here's some tips to help you along the way to hopefully make it a little less daunting .


Watch in HD 'here' . Please subscribe to my YouTube channel if you like my videos to be notified when I upload .


The first thing you need to decide on is what product you want to use & find easiest to use.

Gel Eyeliner - Great for professional make up artist for hygiene & how black and pigmented it is . Very unforgiving for new beginners . If you make a mistake it can be very hard to remove .

Favourite Gel Eyeliner : Inglot AMC Eyeliner - 77

Liquid Eyeliner - My favourite of them all . As I said in the video for the reasons being you can get a fluid , sharp & defined wing . Its more forgiving then gel & I get use out of the whole tub . Good for covering fake eyelash bands. Its not the easiest way to apply winged eyeliner , but it looks well .

Favourite Liquid Liner : Essence Essence Dip Eyeliner

Felt Tip Eyeliner - Very similar to liquid eyeliner . Not great for make up artists as its not hygienic but perfect for your own make up bag . Not as pigmented as Gel . You have a lot of control over eyeliner but the felt of the eyeliner really matters , if it has a thick felt you'll end up with thick eyeliner . Good for beginners .

Favourite Felt Tip Eyeliner : Collection Extreme 24 Hour Felt Tip Liner

Pencil Eyeliner - Not great for winged eyeliner , the pencils usually too thick and would make it very difficult to do winged eyeliner with .

Black Eyeshadow (with a damp brush)  - I personally think this is the best for beginners . Really easy removed (but does last all day/night) if you make a mistake . Most people have black eyeshadow(make sure its pigmented)  so you dont have to go out & buy a new product .

Favourite Black Eyeshadow : Really just any black eyeshadow that has good pigmentation .


Step 1 -
You want the angle to elongate & slightly lift your eye without being too arched . Make sure you are opening your eye while doing it because if you have your eyes are closed it is going to look completely different when you open your eye . I aim in the direction of the bottom of my eyebrow . Its up to you how thick of thing you like your eyeliner .

Step 2 -
After I create the wing I then go on to do the inner part of my eyelid . Using a small brush & the black (or whatever colour you want) I start doing little small brush strokes in the inner corner of the eyelid .

Step 3 -
I then fill in the centre part of the eyeliner , joining the outer wing to the inner part of the eyeliner .

Top Tips
- Steady your elbow on a table to avoid shakiness & balance your baby finger on your cheek to steady your hand .
- Concealer under the wing to sharping it .
- Use sellotape if you are finding the wing really difficult . Just make sure both wings are at the same angle .
- Have a firm enough grip on the brush your using just so you have more control  .

I also did another blogpost on eyeliner a while back . 'Click Here' if you want to have a look at that blog post also . Hope this post/video helped . Any other questions you may have feel free to message me .

Thanks For Reading /Watching .
Alannah x


Green Spotlight Eyes + Nude lips

It has been snowy in Ireland for the last two days and if it snows in Ireland the whole country basically closes down . Being house bound I decided to create a make up look using colours I don't typically use but I am really loving the finished look . No winged liner in this look , not gonna lie it was hard to resist . So here it is a Green spotlight eye with nude lips :

Step 1 : As always you should cleanse , tone and moisturizes your face (I use Matis Paris Cleanser , Toner and Moisturizer ) .

Eyes

Step 2 : Prime your eyelids using an eyelid primer or concealer (I used Collection lasting perfection concealer)

Step 3 : For my  transition colour I blended out a taupe eye shadow(I used Urban Decay eye shadow in Tease)  in my eye socket , make sure its well blended by using a  fluffy blending brush ( I used Blank Canvas Cosmetics) and using circular/windscreen wiper motions .

Step 4 : I then applied some dark green eye shadow (I used Urban Decay eye shadow in Loaded ) to the outer corner of your eyelid , the inner part of your eyelid, the inner part on your lower lash line and the outer part on your lower lash line. You then you want to blend the dark green into the taupe colour using a blending brush and the same method.

Step 5 :With a flat slightly dense eye shadow brush (I used Urban Decay 'good karma brush' ) pack on a light green eye shadow ( I used Urban Decay eye shadow in Kush )to the centre of your eyelids and the centre on your lower lash line . Blend it slightly so there are no harsh edges .

Step 6  : Using a black eye pencil(I used MUD eye pencil in black)  fill in the water line and tight line of your eye .

Step 7 : Apply some mascara(I used Maybelline Greatlash )  , I find the easiest and most effective way to apply it is in zig zag motions working from the roots of the lashes to the tips .

Step 8 : I applied some strip lashes( I used Red Cherry Lashes #43) , not a necessity but I have very short eyelashes so they make my eyelashes look fuller and longer.

Step 9 : With my liquid liner(I used Collection Extra 24 hour felt tip liner) I drew a line over the fake eyelash band to make the look more polished .

Skin

Step 10 : Now that your moisturiser has hydrated your face (step 1) . Apply some foundation I used Boujois Healthy Mix Serum work it into the skin using a stippling brush in circular motions.

Step 11 : I then concealed my dark circles under my eyes using collection lasting perfection concealer .

Step 12 : I lightly contoured(using Graftobian Glamour Crème Cool Palette ) my nose under my cheekbones and my temples using a flat foundation brush and blending it out with a stipple brush ( I used a Stipple Brush from Crown) .

Step 13 : I then powdered my face using MUD Lemon Highlight Powder with a big fluffy face brush (Not sure of the brand had it for years) .

Lips
Step 1 : Filled in my entire lip using Nyx 'Natural' lip pencil .

Step 2 : Then I applied a Mac lip-gloss in 'Underage'.

Eye Makeup To Compilment Dark Lips - Step By Step


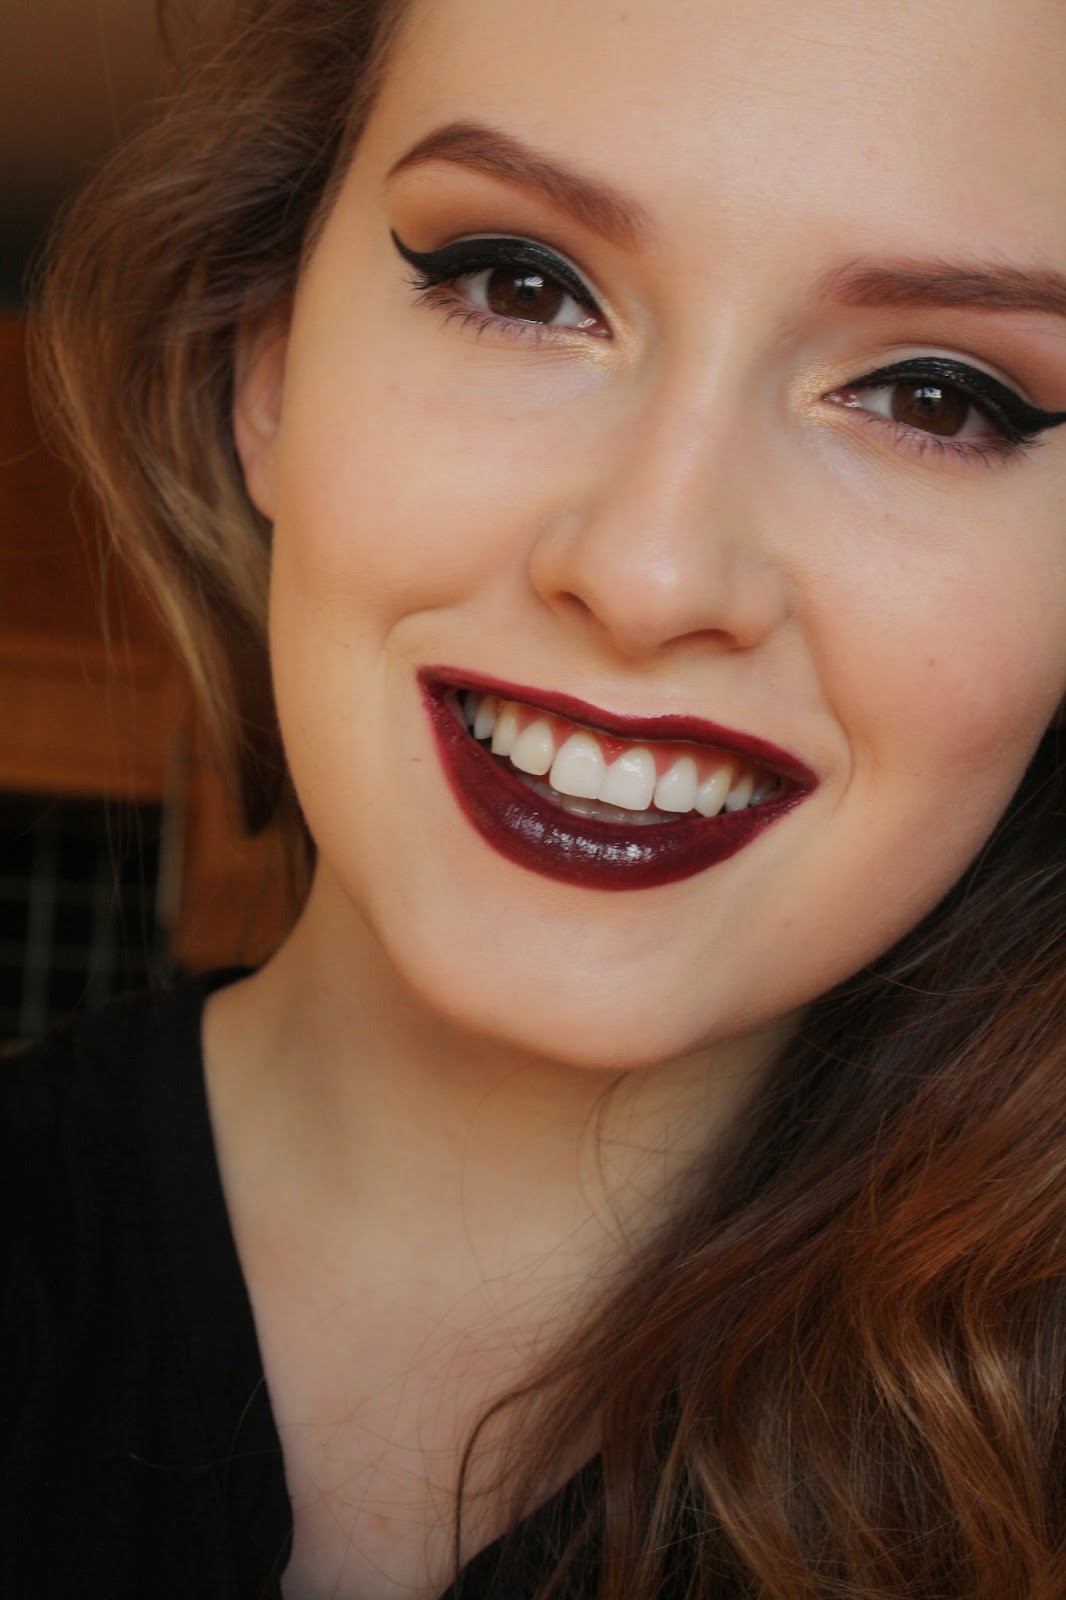
Dark lips are seen as a winter trend . In Ireland its feels like its always winter . Dark lips and dark eye make up can clash and are really hard to pull off . When your wearing a dark lip its nice to have an eye make up look that complements the look and is not completely boring. So I thought I would do a blog post on how to achieve this eye make up look that works well with dark lipstick . Oh and the lipstick is from Avon in the colour Vixen, enjoy .

Step 1 : Prime your eyelid using a concealer(i used collection 2000 lasting perfection concealer)  to make the pigment in your eyeshadow more vibrant use your finger to blend it out. 

Step 2 : Using a fluffy blending brush blend some light brown eyeshadow(i used Inglot eyeshadow) into your crease . Make sure its well blended . 

Step 3 :Using black eyeliner(I used Inglot gel eyeliner) starting from the inner corner of your eye drag it out wards an create a flick at the end . 

Step 4 : Apply a black eyeliner pencil(I used MUD pencilled liner) on the tight line of your eye .
 
Step 5 : Using a medium sized eyeshadow brush apply some gold eyeshadow to your inner tear duct (I used half baked from the Urban Decay Naked 2 palette) . 

Step 6 : Apply your favourite mascara (i used Maybelline Great lash blackest black mascara) .

Sorry for the lack of posts the last while , had plans for something new for my blog in 2015 but I'm putting it off for a while because a few things (college etc) . So for now I will be doing my normal make up blog posts . Hope everyone had a nice christmas and have a happy new year :) .


Burnt Orange and Cream - Make up Step By Step


My next look I will need to focus on the lips because this look is once again all about the eyes . Burnt orange is one of my favourite colours for eye make-up especially on blue eyes, It really makes blue eyes pop! I did this make up look before work one morning while watching an episode of gossip girl at the  same time and if I was to do it again there is a few things I would of perfected more and maybe have applied some individual lashes . But I like the over all look so I thought I would write a step by step guide on how to achieve this make up look .


Eyes  
 
Step 1 : Coffee (or any source of caffeine)
Step 2 : Apply Nyx Jumbo Eye pencil in Milk all over your eyelid and blend it out with a fluffy blending brush.
Step 3 : Using Foxy from my Urban Decay Naked 2 palette I packed it over the milk eye pencil , not applying any cream to theouter corner of my eyes .
Step 4:I then blended out Make up Designory blush in brick with a fluffy brush into my socket.
Step 5 : Apply some of the same Make up designory blush under your eyelid using a small flat brush.
Step 6 : Darken up your socket then by applying some dark brown eye shadow with a pencil brush.
Step 7 : Using my black inglot gel eyeliner in 77  I winged out the eyeliner and applied some of the black eyeliner to my tight line .
Step 8: I then applied Make up Designory eye pencil in Auburn to my waterline .
Step 9 : Coat your lashes with some mascara , I used Maybelline Great lash in Blackest Black.


Eyebrows

Step 1 : I Used Maybelline New York master shape eyebrow pencil in dark blonde, it has a waxy fomula that keeps my eyebrows in place.
Step 2: Using and angled brush I used my favourite Inglot Eyeshadow - Matte Brown 342 to fill in my brows .
Step 3 : I then concealed around my eyebrows with Graftobian HD glamour cream in sunrise flush.


Skin

Step 1 : Mix mac studio fix foundation with my embroylisse lait crème to get a lighter coverage.
Step 2 : With a fluffy brush I applied mac pinch o peach(discontinued ,peach by nyx is similar) blush to the apples of my cheeks.
Step 3 : Applied some Sleek bronzer from the face form palette in fair under my cheekbones and on my temples.


Lips

Step 1 : I then ate my breakfast and by this time I was nearly running late so I applied some rosy lips  by Vaseline to my lips .