Featured Slider

Showing posts with label blogpost. Show all posts

Purple Spotlight Eye with Blue Winged Eyeliner | Make-up Tutorial


Watch in HD & Full Screen Here .
 
A colourful make up look perfect for a summer night out or a music festival .


Product List :

Skin
Primer : Nivea Men Post Shave Balm
Foundation : Loreal Fit Me Foundation
Cream Highlighter : Benefit Watts Up
Powder Highlight : Blank Canvas Cosmetics Pippa Palette
Contour : Penney's Powder contour kit
Concealer : LA Girl Pro Conceal

Eyes
Primer : Smashbox Lid Primer
Cream Eyeshadow : Cream Eyeshadow from the Sleek 'oh so special' palette
Purple Eyeshadow : Coastal Scents Shimmer Palette
Black Eyeshadow : Sleek 'oh so special palette'
Blue eyeliner: Image face paint
White eyeliner : Nyx white eyeliner
Mascara : Great Lash by Maybelline
Fake Eyelashes : Ardell Demi Wispies
Eyebrows : Anastasia Beverly hills dipbrow in Dark Brown

Lips
Penneys Nude lip liner all over lip with some lip balm

Thanks for watching/reading
Its a lovely day here in Ireland so I am away out to get some sun (doesn't happen too often) .Have a nice day  .
Alannah x

Kim Kardashian Make up + Cream Contouring Tutioral

Everyone seems obsessed with the Kardashians/Jenners theses days , but I'm just obsessed with there make up artist Mario Devindovic . I think we can all agree that Kim Kardashians everyday make up is still more then some of us would wear on a night out but were not all followed around by paparazzi. Cream contouring is time consuming but I love this look for a night out . I have the face of a five year old so its nice to contour the heck out of my face and give my face some structure .


Everyone has this idea that cream contouring its very fake looking and sometimes it can be but if you use lightweight products and blend properly it can look really skin like and more natural then contouring with powder products .


 Mario is Kim's make up artist most of the time they have also became great friends over the years  , two other make up artists that also do her make up quite frequently are Joyce Bonelli and Rob Scheppy both very talent beauty make up artists as while .

 I have watched and read loads of interviews with Mario and his thing really seems to be layering . He doesn't just apply concealer he applies cream , liquid and powder . When he's doing lips he uses a lip pencil a lipstick , lip glosses and even mixes some lipstick together to make the perfect colour . He believes that layering is great for the make ups longevity .
I looked at close up pictures of Kim K and created this look. Its not really based off one of her make up looks but just a mixture of a few .
 
Eyebrows & Eyes
 
Step 1 : I started off with the eye brows first . I tinted my eyebrows yesterday so I didn't have much filling in to do . Kim's eyebrows are usually really soft looking nothing to harsh. I filled them in with an eye shadow to create that soft effect.
 
Step 2 : I  then primed my eyes with some concealer . This conceals any pigmentation on my eyelids while making the eye shadow  applied on top more vibrant .
 
Step 3 : I applied a lovely shimmery cream eye shadow with a dome shaped eye shadow brush to my inner tear duct and inner corner of my eyelid. I love the way this looks really brightens up your eyes and makes you look more awake.
Step 4 : I then applied a pale brown matte eye shadow colour as my transition colour with a fluffy blending brush .
Step 5 : I took the same eye shadow again and blending it out under my bottom lash line .
 
Step 6 : I then applied a dark matte brown to the outer corner of my eyelids , then blending it out .
Step 7: With a black eye pencil I lined the top lash line and created a small flick. I then smoothed it out with an angled brush . (full winged eyeliner tutorial here)
Step 8 : I lined my tight line with the black eye pencil .
 
Step 9 : I lined my waterline with a white eyeliner pencil . Kim goes between black and white pencils on her waterline but usually wears black when she's going to an evening event.
 
Step 10 : I applied some mascara to my top and bottom lashes.
Step 11 : I applied Penneys fake lashes in Sultry . Actually my first time wearing these and I really like them . Kim usually wears individual lashes but she's has quite long eyelashes to start off with .
 
Face
Step 1 : I Made sure there was no make up on my face by using micellar water on a cotton pad . A clean base is essential for an even foundation finish .
 
Step 2 : I highlighted under my eyes , centre of my nose , centre of my forehead , centre of my chin and under my cheekbone contour .
Step 3 : I contoured the sides of my nose , top of my forehead , sides of my forehead , under my cheekbone, the centre of my cupids bow and under my bottom lip .
Step 4 : With a damp beauty blender I blended the contoured and highlight by damping so I don't move the product .
Step 5 : On top of that I then applied some light liquid foundation on the places I previously highlighted and some darker liquid foundation on top of the contoured previously applied .
Step 6 : I blending this out my dabbing it with the beauty blender and using my fingers .
Step 7 : I powdered my face with translucent powder and a powder puff , dabbing again so none of the make up previously applied moves .
Step 8 : I warmed up the cheeks with a little bronzer .
Step 9 : I applied some blush to my cheeks just to give a natural flush .
Lips
Step 1 : I Lip lined my lips .
Step 2 : I then applied graftobian cream blush as a lipstick .
Step 3 : Last put not least I applied a natural lip gloss  .


Exact Products used:
Eyes
Eyeshadow Transition shade: Urban Decay eyeshadow - tease
Black eyeliner Pencil : Make up Designory black eye pencil
Fake eyelashes : Penny's/Primark Sultry Fake lashes
Fake eyelash glue : Duo eyelash adhesive dark tone

Skin
Skin prep : Bioderma H20

Lips


Hope you all like this look , I am really happy with the way it turned out and reckon its going to be my go to look on a night out from now on .

As always if you have any questions or want any advice feel free to comment  below .

I will do a more in depth contour blog post (best products to use , how to contour for your face shape etc ) soon .

Alannah x

Green Spotlight Eyes + Nude lips

It has been snowy in Ireland for the last two days and if it snows in Ireland the whole country basically closes down . Being house bound I decided to create a make up look using colours I don't typically use but I am really loving the finished look . No winged liner in this look , not gonna lie it was hard to resist . So here it is a Green spotlight eye with nude lips :

Step 1 : As always you should cleanse , tone and moisturizes your face (I use Matis Paris Cleanser , Toner and Moisturizer ) .

Eyes

Step 2 : Prime your eyelids using an eyelid primer or concealer (I used Collection lasting perfection concealer)

Step 3 : For my  transition colour I blended out a taupe eye shadow(I used Urban Decay eye shadow in Tease)  in my eye socket , make sure its well blended by using a  fluffy blending brush ( I used Blank Canvas Cosmetics) and using circular/windscreen wiper motions .

Step 4 : I then applied some dark green eye shadow (I used Urban Decay eye shadow in Loaded ) to the outer corner of your eyelid , the inner part of your eyelid, the inner part on your lower lash line and the outer part on your lower lash line. You then you want to blend the dark green into the taupe colour using a blending brush and the same method.

Step 5 :With a flat slightly dense eye shadow brush (I used Urban Decay 'good karma brush' ) pack on a light green eye shadow ( I used Urban Decay eye shadow in Kush )to the centre of your eyelids and the centre on your lower lash line . Blend it slightly so there are no harsh edges .

Step 6  : Using a black eye pencil(I used MUD eye pencil in black)  fill in the water line and tight line of your eye .

Step 7 : Apply some mascara(I used Maybelline Greatlash )  , I find the easiest and most effective way to apply it is in zig zag motions working from the roots of the lashes to the tips .

Step 8 : I applied some strip lashes( I used Red Cherry Lashes #43) , not a necessity but I have very short eyelashes so they make my eyelashes look fuller and longer.

Step 9 : With my liquid liner(I used Collection Extra 24 hour felt tip liner) I drew a line over the fake eyelash band to make the look more polished .

Skin

Step 10 : Now that your moisturiser has hydrated your face (step 1) . Apply some foundation I used Boujois Healthy Mix Serum work it into the skin using a stippling brush in circular motions.

Step 11 : I then concealed my dark circles under my eyes using collection lasting perfection concealer .

Step 12 : I lightly contoured(using Graftobian Glamour Crème Cool Palette ) my nose under my cheekbones and my temples using a flat foundation brush and blending it out with a stipple brush ( I used a Stipple Brush from Crown) .

Step 13 : I then powdered my face using MUD Lemon Highlight Powder with a big fluffy face brush (Not sure of the brand had it for years) .

Lips
Step 1 : Filled in my entire lip using Nyx 'Natural' lip pencil .

Step 2 : Then I applied a Mac lip-gloss in 'Underage'.

Eye Makeup To Compilment Dark Lips - Step By Step


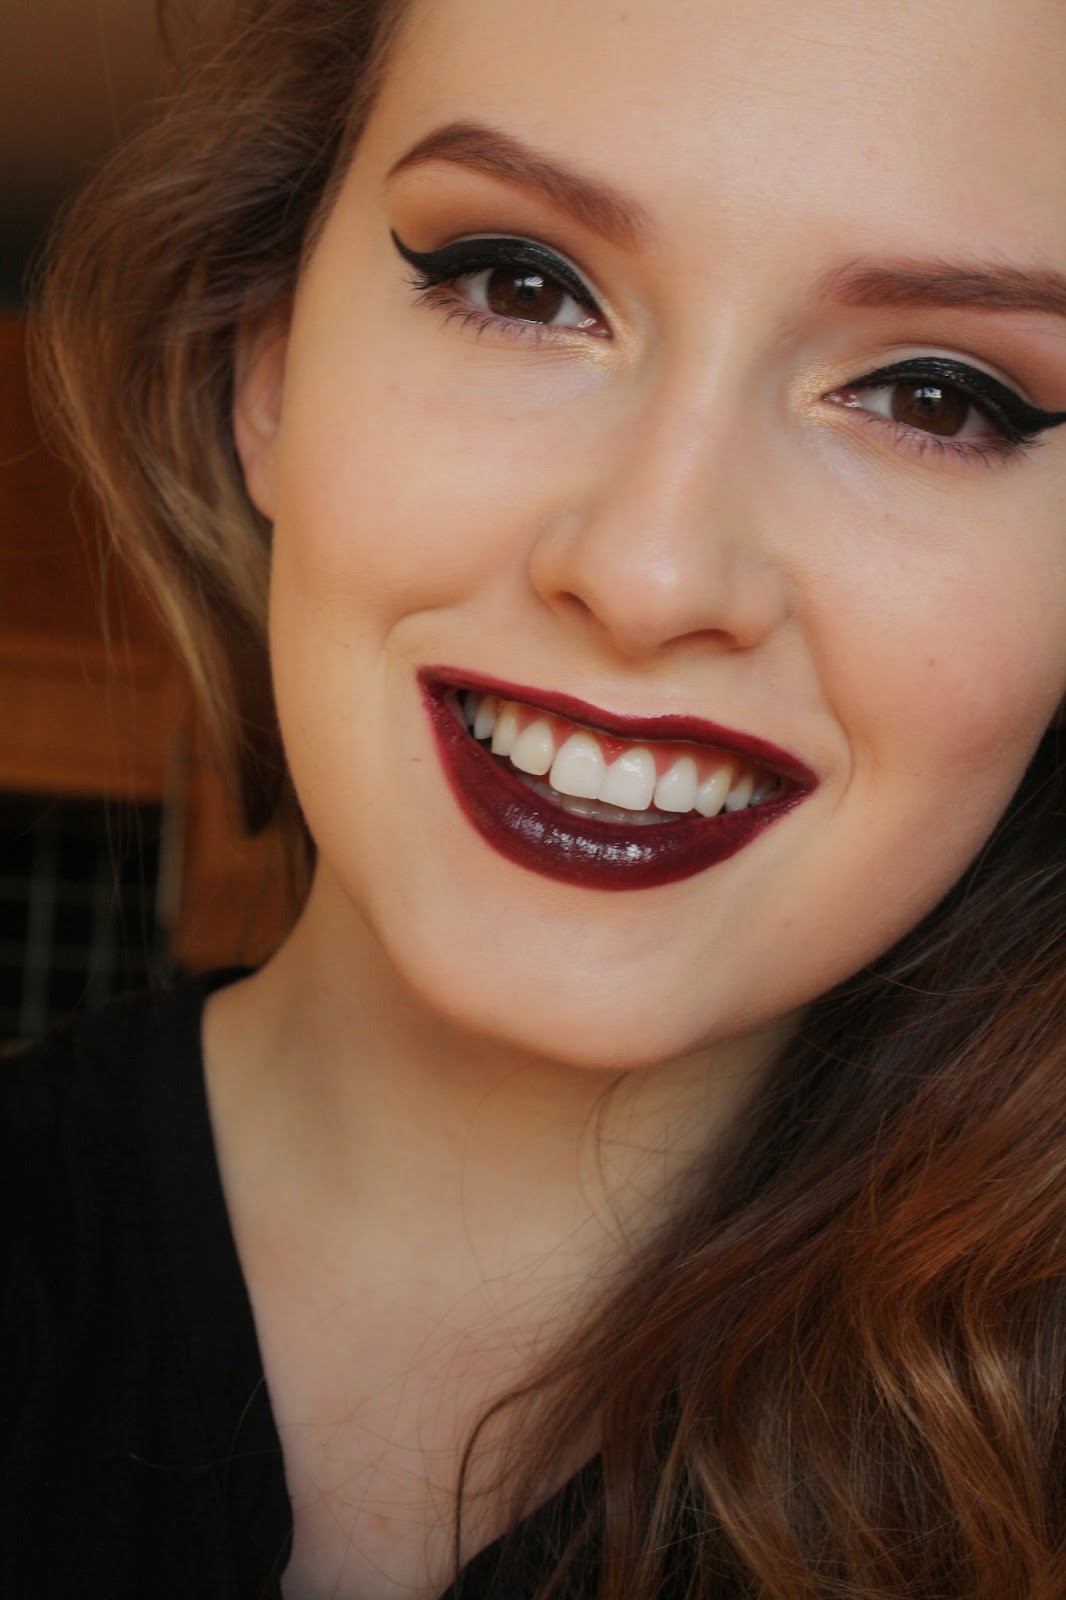
Dark lips are seen as a winter trend . In Ireland its feels like its always winter . Dark lips and dark eye make up can clash and are really hard to pull off . When your wearing a dark lip its nice to have an eye make up look that complements the look and is not completely boring. So I thought I would do a blog post on how to achieve this eye make up look that works well with dark lipstick . Oh and the lipstick is from Avon in the colour Vixen, enjoy .

Step 1 : Prime your eyelid using a concealer(i used collection 2000 lasting perfection concealer)  to make the pigment in your eyeshadow more vibrant use your finger to blend it out. 

Step 2 : Using a fluffy blending brush blend some light brown eyeshadow(i used Inglot eyeshadow) into your crease . Make sure its well blended . 

Step 3 :Using black eyeliner(I used Inglot gel eyeliner) starting from the inner corner of your eye drag it out wards an create a flick at the end . 

Step 4 : Apply a black eyeliner pencil(I used MUD pencilled liner) on the tight line of your eye .
 
Step 5 : Using a medium sized eyeshadow brush apply some gold eyeshadow to your inner tear duct (I used half baked from the Urban Decay Naked 2 palette) . 

Step 6 : Apply your favourite mascara (i used Maybelline Great lash blackest black mascara) .

Sorry for the lack of posts the last while , had plans for something new for my blog in 2015 but I'm putting it off for a while because a few things (college etc) . So for now I will be doing my normal make up blog posts . Hope everyone had a nice christmas and have a happy new year :) .


5 reason you need this eyeshadow colour

Todays Blog post is about my most reached for eye shadow (Inglot Eyeshadow - Matte Brown 342) and who would of thought ? It just looks like a boring old matte brown shadow but trust me you need it. After purchasing the Urban Decay naked 2 palette I realised I was in need of some matte eye shadow for my kit . Too much shimmer eye shadow doesn't look great on older skin as the can sometimes make the wrinkles and fine lines around the eye area more noticeable also you really can go wrong with a matte eye shadow .My friend bought me an Inglot freedom system palette with 3 eye shadows and there was a place for one more eye shadow so when I was in Dublin a while after that I decided to head towards there South Anne Street Inglot store and purchase this eye shadow so that my Inglot palette was complete . Here are 5 reason why I love this eye shadow so much :


1 . The price. €6 ! I personally think its a bargain for the quality and the amount of the eye shadow you get . Mac eyeshadow is €10 and has a lot less product in it .


2 . Works well on every eye colour . Teenagers , Adults , people with green , blue or brown  trust me it will suit you ! Great colour for those who aren't that confident at doing there own make up . Also matte brown will never go out of trend.


3. Its the perfect eye shadow transition colour . Especially with a brown , black or orange smokey eye look. A transition colour is a colour you blend out in the socket line of your eye so you don't have a  harsh lines between your brow bone & your eyeshadow . Your eyeshadow will look well blended and will gradual fade into you skin.


4. Great Eyebrow Colour . Believe or not it works on blondes , light brunettes and red heads . It just depends how lightly or strongly you apply it . I like to use and angled eyebrow brush to apply it and conceal around my eyebrows then to make my eyebrows look more defined .


5. Nicely pigmented . Inglot eyeshadows are probably the most popular product from Inglot because they have a nice texture and are really pigmented . If you don't believe me look up more reviews on there eyeshadows and I am sure they will all say the same.


I have used this eyeshadow in my previous make up looks on my blog , have a look if you want to see this eyeshadow being used .