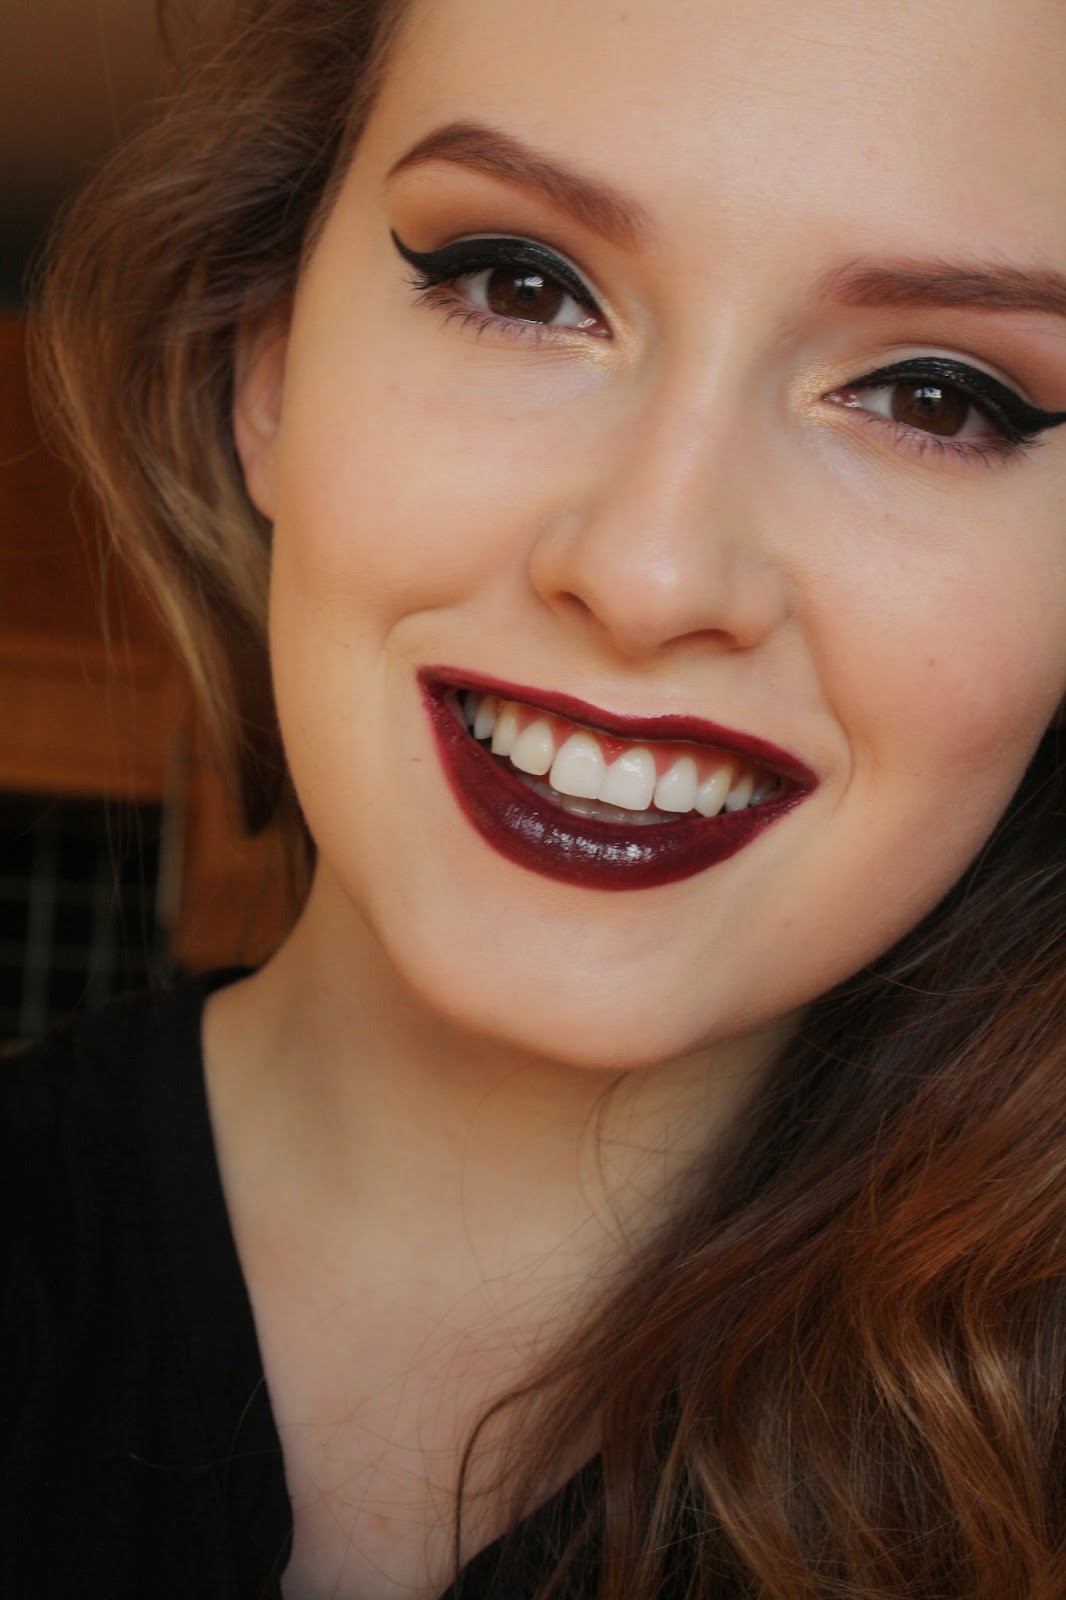
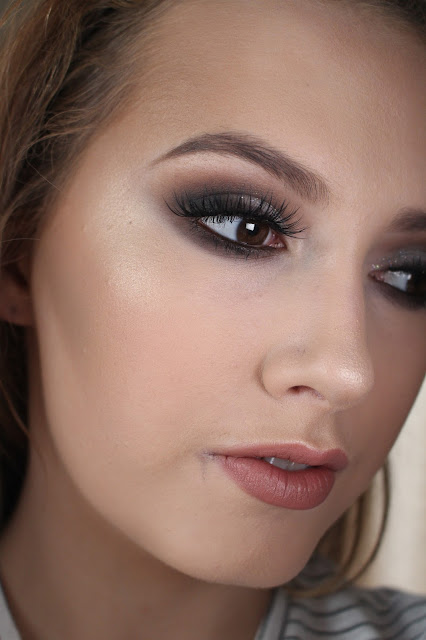
Brand Focus : Make up designory

 
Wow I have/had a lot of Make up Designory Make up ! I realised while going through my make-up collection today an this brand isn't  mentioned much on beauty blogs, at least I have never seen anything about the brand before . Todays blog is short reviews on products I have tried from Mud . I recommend getting a snack before you read , its a long one .

Skin Products

Skin products I have tried from this brand are the Cream Foundation Palette , Face Primer, Correctors, cheek colours and bronzer . I also have some of the airbrush make up but I can do a separate review on that if anyone's interested .

Cream Foundation Palette
Sadly I got this stolen from me along with some other products but  this palette is great for make up artists . They are full coverage creams that can be made into a medium or light coverage my adding primer or moisturiser . Great at covering redness . I would recommend powdering the foundation to set it in place and to help it last all day .

Face Primer
Love this face primer , especially for everyday use . Its nice and light on the skin and very breathable . Its also quite moisturising and creates the perfect base for foundation . Definitely one of my favourites from the brand . Makes you foundation stay on all day and not become patchy.


Concealors/Correctors
These are very full coverage . Great for covering spots but to heavy for underage circles because they tend to crease a lot .  Great if you have a lot of spots or redness on your skin because they definitely will do a great job concealing it . Really crap packaging though , breaks so easily. Use these a lot as eyelid primers too .

 
From Left - Right : Deep Brown,RC2 ,BC1,RC1

Bronzer
A warm orangey brown shade , a bit to on the orangey side for my liken but does look nice to give you cheeks a bit of warmth if your wearing a tan . Nicely pigment ,buildable for the look desired, great texture that blends really easy . Great eye shadow transition colour also . In a handy little  compact with a mirror .

From Left- Right : Bronzer :Endless Summer . Cheek Colours : Gingerbread, Bubblegum,Warm Bisque , PumpkinBrick ,  Lemon Cream .

Cheek colours
I have a half filled palette of there cheek colours . Must buy more to fill it out , brilliant quality blusher , blend nicely . I have to say I prefer the orange and brown colours more for eye shadow .
My favourite are Lemon Cream (great for setting underage concealer) , Pumpkin (Always using this as eye shadow , makes blue eyes pop)  and Warm Bisque ( Nice subtle natural looking blush) .

Link for Palette : http://shop.mudshop.com/10-hole-empty-cheek-color-palette?sc=2&category=12153

Eye Products

I have tried the brands eye shadows , eye pencils , mascara and brow gel.
 
Eye shadows
In are college kit we got a palette half filled with eye shadows . I cant remember all the eye shadows from this palette but I do remember that the texture and pigmentation  of the  eye shadows where really nice not to creamy and not to chalky . The perfect balance . If I buy a Z palette in the future I will definitely buy some of there eye shadows again .

Eye Pencils
Creamy pigmented eye pencils that don't togging on the eye . Nice smokey out and make creating a smokey eye so much easier .  Not great for liner your waterline or waterline because they do transfer also will smudge if you create a defined liner look . Nice for a smokey eye or a short day wearing make up but not great for a long day wearing make up .

Left to right - Black Rich Brown , Auburn
Mascara
Great for a make up artist kit , really hygienic , black and dry fast so not smudging if you client blinks .

Brow Fix
Didn't like this brow gel . Worked well if you had nothing on your brows but didn't work well with any other eyebrow products .

Lip products

Only thing I have tried from the lip product side of things was the lip liner in natural .

Lip Liner - Natural
Lovely products don't bleed , are very pigmented and very easy to draw on the lips , no pulling and togging rechoired . I had the lip pencil in natural and such a lovely natural colour , very similar to nyx natural lip pencil which is one of my favourites .


 Brushes

From Top - Bottom : Smudger Brush , Mascara Brush , Eyeliner Brush , Crease Brush , Powder Blush Brush , Shadow Fluff Brush .
 
I have 6 Make up Designory make up brushes , love some of them and dislike so of them .

Powder Blush Brush - 710
Not a fan of this brush , very soft bristles but I don't like the size of it for blush , bronzer or all over face powder .

Mascara Brush- 500
I am in love with this brush ! So handy for make up artists , far easier to use then disposable mascara wands , just ask the client to look down and you can get right into the roots of the lashes . Works well when you want to blend the clients eyelashes in with there Fake eyelashes . Perfect brush , Keep saying I must buy more .Squeeze some of the Mud mascara onto you make up palette and apply the mascara using this brush . Its Super Handy and the perfect size. Spot clean after every client .

Crease Brush - 800
Don't like this brush at all, nice size but scratchy bristle especially if your doing a lot of blending in the  eye shadow look your creating .

Shadow Fluff Brush - 330
This brush is one of those brushes that different people will use for different things . I find it works best for setting underage concealer , small enough to get in under the eye and picks up enough powder.

Eyeliner Brush - 100
This brush works amazing with gel eyeliner , its thin so you can create a thin look or a thick eyeliner look .Very easy to use.

Flat Foundation Brush - 940
I also have the flat foundation brush which I forgot to add to the picture . Its a nice flat foundation brush but I don't really use flat foundation brush often .


I have had theses brushes for probably a year and a half and they haven't shed any hair , like zero hair . The brush handles are nice and comfortable when holding/working with them . The brushes aren't out of this world (except the mascara brush) and I am sure you could find better around the same price.


Tools

Sorry for the lack of pictures in this section , brush belt and make up bag need washed and I forgot I had there tweezers and Metal Palette and Knife until I looked at there website .

Metal Palette & Palette Knife
Standard Stainless steel metal palette . Nice size , easy to clean .

Make up Bag
One of my favourite make up bags I have . Its the perfect size , looks perfessional and if you but it in the washing machine to clean it comes out looking brand new .

Brush Belt
I have tried everything to clean this brush belt but the only thing that works is putting it in the washing machine . The material getting dirty really easily , if I was to buy a brush belt again I would buy a leather one you can wipe down . Holds a lot of brushes.

Tweezers
Pointy tweezers that makes plucking your eyebrows effortless .

Facecharts
The papers easy to work and blend on but the faces are kind of look childish .


If you have any questions about any of theses products feel free to comment below .

Favourites Products : Small  fan brush , Mascara , Correctors , Brush , Lip pencil , Eye shadows , Cheek colours , tweezers , make up bag , face primer .

Products I didn't like so much : Brow Gel , Brushes (except the mascara brush) , Face chart , Brush Belt .


Sleek Highlighting Palette - Review


I really wanted to love this product but sadly didn't . I love highlighter I think its so beautiful applied on the tops of the cheekbones , the cupids bow and in the inner tear duct of your eye . Highlighter is worn to enhance a feature . There's a thin line between looking like a disco ball and having a nice healthy glow, so I am always on the look out for an amazing cheek highlight with a better price tag then the Hourglass Ambient Light palette(which I haven't splurged on just yet).


Packaging : A plus for packaging , so pretty I was like a magpie when I saw it in boots , real easy to wipe done and keep looking clean .

Layout : Four nice sized highlighters four cream highlighters : Platinum , Royal Gold , Renaissance and one powder highlight : Antique Bronze . You also get a little brush to apply the highlighter with witch could also come in handy when applying the powdered highlight as I prefer to apply the cream highlighter with my fingers .

Colour : Royal Gold and Renaissance are basically the same colour , far to similar in my opinion , they could of done with just three colours of highlight .Platinum is like a pearl coloured highlighter that would suit a paler person . The other three highlighter would be best suited for a tanner person just because there kind of on the bronzer side .

Texture : The texture of the cream highlighters is kind of greasy , but it works , it glides on your cheeks quite nicely  . The powder is bang centre between chalky and creamy which is a really nice texture .Very blendable .

Longevity : Lasted all day .

Pigmentation : The pigmentation in this product actually is pretty good in the creams and the powder.

Conclusion : There is only really one thing wrong with this products and that its more glittery the glowy . For me that's a something I hate and a big enough factor to put me off the palette . You could do worse for this price but I am determined I can find something better . I like to mix cream highlighters with some moisturiser or primer to use as an illuminator applied before my foundation or mix in with it and with this product you just cant without looking like a disco ball . I wouldn't recommend this palette because I now that there is definitely better highlights in the same price range out there .


#GirlBoss by Sophie Amoruso - Book Review


Todays blog post is a bit of an unuasl one for me , I would just like to mention that I rarely read books . I like reading blog posts and magazines but rarely read books . When it comes to book I prefer true stories or self help books that you can learn from , I am not the biggest fan of fiction. Recently I decided to start reading more books. I seen some Instagram pictures with this book and some of my favourite Youtubers mentioning it in monthly favourite videos .I thought the title of the book was cool and was interested to see what the book was about . For me to read a full book it needs to be really interesting from the start through to the end . The fact that I even read this book should be a good enough reason to go out and buy it .

The book is about Sophie Amoruso a college dropout who turnt selling clothes on her ebay account NastyGal into a multi million dollar fashion company with over 350 employees all in the space of a few years . In the book she explains how she got to where she is today . Even though the book is about the journey of the company she wrote it to inspire and motivate not for people to  go out an follow the path she took but to go out and create there own . There is helpful tips along the way on interviews , CV's ,money etc. My 3 favourite tips/advice/quotes from the book :


- Money Advice : Don't spend money you don't have . Live within your means . Money looks better  
  in your bank then on your feet.

- The straight and narrow is not the only path to success . Start Small , Dream Big.

- "Things may come to those who wait , but only the things left by those who hustle " - Abraham
    Lincoln     

The book is easy to read , no fancy vocabulary . Her personality really shines through in this book and she seems like a really genuine person even after all her success. The only bad thing I have to say about this book is that it can be a little repetitive in some parts , but part from that , I will definitely read it again and recommend it to all my friends . This book helped motivate me and teach me that if you love what your doing and are welling to work hard at it good things will happen. I would say a lot of people would find this book interesting especially girls aged between 16 - 25 who are looking for motivation and feeling kind of lost career choice wise .

This book review is pretty basic ,I found it quite hard to write a review on a book without giving to much away . If your a real book worm I would recommend reading some more reviews before making a purchase but if your like me and not the biggest book reader , you should definitely check this book out . Available on Amazon .

Green Spotlight Eyes + Nude lips

It has been snowy in Ireland for the last two days and if it snows in Ireland the whole country basically closes down . Being house bound I decided to create a make up look using colours I don't typically use but I am really loving the finished look . No winged liner in this look , not gonna lie it was hard to resist . So here it is a Green spotlight eye with nude lips :

Step 1 : As always you should cleanse , tone and moisturizes your face (I use Matis Paris Cleanser , Toner and Moisturizer ) .

Eyes

Step 2 : Prime your eyelids using an eyelid primer or concealer (I used Collection lasting perfection concealer)

Step 3 : For my  transition colour I blended out a taupe eye shadow(I used Urban Decay eye shadow in Tease)  in my eye socket , make sure its well blended by using a  fluffy blending brush ( I used Blank Canvas Cosmetics) and using circular/windscreen wiper motions .

Step 4 : I then applied some dark green eye shadow (I used Urban Decay eye shadow in Loaded ) to the outer corner of your eyelid , the inner part of your eyelid, the inner part on your lower lash line and the outer part on your lower lash line. You then you want to blend the dark green into the taupe colour using a blending brush and the same method.

Step 5 :With a flat slightly dense eye shadow brush (I used Urban Decay 'good karma brush' ) pack on a light green eye shadow ( I used Urban Decay eye shadow in Kush )to the centre of your eyelids and the centre on your lower lash line . Blend it slightly so there are no harsh edges .

Step 6  : Using a black eye pencil(I used MUD eye pencil in black)  fill in the water line and tight line of your eye .

Step 7 : Apply some mascara(I used Maybelline Greatlash )  , I find the easiest and most effective way to apply it is in zig zag motions working from the roots of the lashes to the tips .

Step 8 : I applied some strip lashes( I used Red Cherry Lashes #43) , not a necessity but I have very short eyelashes so they make my eyelashes look fuller and longer.

Step 9 : With my liquid liner(I used Collection Extra 24 hour felt tip liner) I drew a line over the fake eyelash band to make the look more polished .

Skin

Step 10 : Now that your moisturiser has hydrated your face (step 1) . Apply some foundation I used Boujois Healthy Mix Serum work it into the skin using a stippling brush in circular motions.

Step 11 : I then concealed my dark circles under my eyes using collection lasting perfection concealer .

Step 12 : I lightly contoured(using Graftobian Glamour Crème Cool Palette ) my nose under my cheekbones and my temples using a flat foundation brush and blending it out with a stipple brush ( I used a Stipple Brush from Crown) .

Step 13 : I then powdered my face using MUD Lemon Highlight Powder with a big fluffy face brush (Not sure of the brand had it for years) .

Lips
Step 1 : Filled in my entire lip using Nyx 'Natural' lip pencil .

Step 2 : Then I applied a Mac lip-gloss in 'Underage'.

MUA Matte Palette in Ever After - Product Review


So far on my blog most of my product reviews have been pretty positive , so I thought I would write a product review about a product I was disappointed with. I like to review products also that don't have much written about them online because I think there is enough reviews on the Urban Decay naked palettes and the Make up forever HD foundation at this stage and there are so many more products out there waiting to be found. The eye shadow I am reviewing today is the Make up Academy Professional Matte Palette in Ever After . I bought mine in Superdrug for £4 but to be honest I wished that I had spent that money on food , here's the reasons why I felt this way :

Packaging : Pretty standard packaging for £4 , would of been nice to have a mirror but sure for the price you wouldn't really mind if it didn't. There is ten eye shadows in the palette , five on each row .

Colours : The top row of eye shadows are nearly identical. In the bottom row the brown colours are pretty similar also . All colours in the palette are matte.

Texture : The texture of theses eye shadows are pretty awful . There very chalky. I have tried one of the brands single eye shadows for £1 before and loved the cream/buttery texture.  Even the best of brands have trouble creating matte eye shadows that aren't to chalky and are highly pigmented , so I wasn't really to shocked at this result .


Top Row From Left To Right : Unwrap, Butter, Bare, Taffeta, Fade

Pigment : The top row of eye shadows (Unwrap, Butter, Bare, Taffeta, Fade) where a nightmare to try get a photo of . I used an eyelid primer and applied the eye shadows on top of the primer but all that was coming through was the skin tone colour of the primer. I ended up removing the swatches an applying the eye shadow to my arm without primer. You can barely see anything in the photo , it doesn't help that I am so pale . The brown shades and the dark green colours aren't as bad but there still not great , I have the colour packed on to try show the true colour.

       Bottom Row From Left to Right : Penny, China , Truffle , Fog ,Smoke

Longevity : After a few hours the eye shadows start to crease. I have slightly oily eyelids and usually use collection 2000 lasting concealer or Make up Designory corrector to prime my eyelids . Both these concealers stop most of my eye shadows from creasing but it didn't make a different for theses eye shadows .

Conclusion : Not even worth the cheap price of four euro . If your looking at eye shadows try the brands single eye shadows for £1 or save that four pound in your money bank and invest in a good palette. Out of five I would give this palette half a point just for the idea of the product , it would be nice if there was a nicely pigmented, really inexpensive palette with all matte shades , it would come in really handy in everyone's make up kit.


Eye Makeup To Compilment Dark Lips - Step By Step


Dark lips are seen as a winter trend . In Ireland its feels like its always winter . Dark lips and dark eye make up can clash and are really hard to pull off . When your wearing a dark lip its nice to have an eye make up look that complements the look and is not completely boring. So I thought I would do a blog post on how to achieve this eye make up look that works well with dark lipstick . Oh and the lipstick is from Avon in the colour Vixen, enjoy .

Step 1 : Prime your eyelid using a concealer(i used collection 2000 lasting perfection concealer)  to make the pigment in your eyeshadow more vibrant use your finger to blend it out. 

Step 2 : Using a fluffy blending brush blend some light brown eyeshadow(i used Inglot eyeshadow) into your crease . Make sure its well blended . 

Step 3 :Using black eyeliner(I used Inglot gel eyeliner) starting from the inner corner of your eye drag it out wards an create a flick at the end . 

Step 4 : Apply a black eyeliner pencil(I used MUD pencilled liner) on the tight line of your eye .
 
Step 5 : Using a medium sized eyeshadow brush apply some gold eyeshadow to your inner tear duct (I used half baked from the Urban Decay Naked 2 palette) . 

Step 6 : Apply your favourite mascara (i used Maybelline Great lash blackest black mascara) .

Sorry for the lack of posts the last while , had plans for something new for my blog in 2015 but I'm putting it off for a while because a few things (college etc) . So for now I will be doing my normal make up blog posts . Hope everyone had a nice christmas and have a happy new year :) .