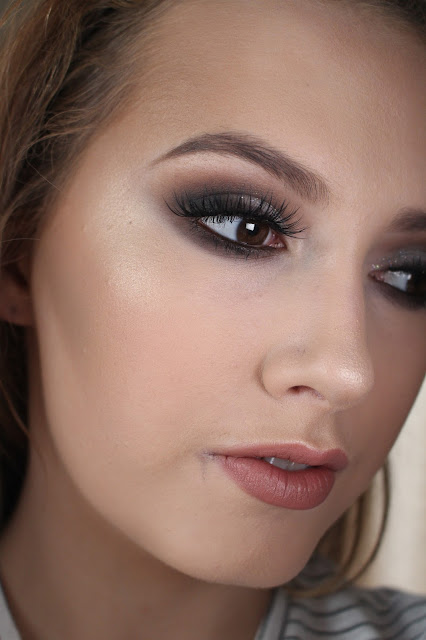
It has been snowy in Ireland for the last two days and if it snows in Ireland the whole country basically closes down . Being house bound I decided to create a make up look using colours I don't typically use but I am really loving the finished look . No winged liner in this look , not gonna lie it was hard to resist . So here it is a Green spotlight eye with nude lips :
Step 1 : As always you should cleanse , tone and moisturizes your face (I use Matis Paris Cleanser , Toner and Moisturizer ) .
Eyes
Step 2 : Prime your eyelids using an eyelid primer or concealer (I used Collection lasting perfection concealer)
Step 3 : For my transition colour I blended out a taupe eye shadow(I used Urban Decay eye shadow in Tease) in my eye socket , make sure its well blended by using a fluffy blending brush ( I used Blank Canvas Cosmetics) and using circular/windscreen wiper motions .
Step 4 : I then applied some dark green eye shadow (I used Urban Decay eye shadow in Loaded ) to the outer corner of your eyelid , the inner part of your eyelid, the inner part on your lower lash line and the outer part on your lower lash line. You then you want to blend the dark green into the taupe colour using a blending brush and the same method.
Step 5 :With a flat slightly dense eye shadow brush (I used Urban Decay 'good karma brush' ) pack on a light green eye shadow ( I used Urban Decay eye shadow in Kush )to the centre of your eyelids and the centre on your lower lash line . Blend it slightly so there are no harsh edges .
Step 6 : Using a black eye pencil(I used MUD eye pencil in black) fill in the water line and tight line of your eye .
Step 7 : Apply some mascara(I used Maybelline Greatlash ) , I find the easiest and most effective way to apply it is in zig zag motions working from the roots of the lashes to the tips .
Step 8 : I applied some strip lashes( I used Red Cherry Lashes #43) , not a necessity but I have very short eyelashes so they make my eyelashes look fuller and longer.
Step 9 : With my liquid liner(I used Collection Extra 24 hour felt tip liner) I drew a line over the fake eyelash band to make the look more polished .
Skin
Step 10 : Now that your moisturiser has hydrated your face (step 1) . Apply some foundation I used Boujois Healthy Mix Serum work it into the skin using a stippling brush in circular motions.
Step 11 : I then concealed my dark circles under my eyes using collection lasting perfection concealer .
Step 12 : I lightly contoured(using Graftobian Glamour Crème Cool Palette ) my nose under my cheekbones and my temples using a flat foundation brush and blending it out with a stipple brush ( I used a Stipple Brush from Crown) .
Step 13 : I then powdered my face using MUD Lemon Highlight Powder with a big fluffy face brush (Not sure of the brand had it for years) .
Lips
Step 1 : Filled in my entire lip using Nyx 'Natural' lip pencil .
Step 2 : Then I applied a Mac lip-gloss in 'Underage'.
Showing posts with label eyebrow colour. Show all posts
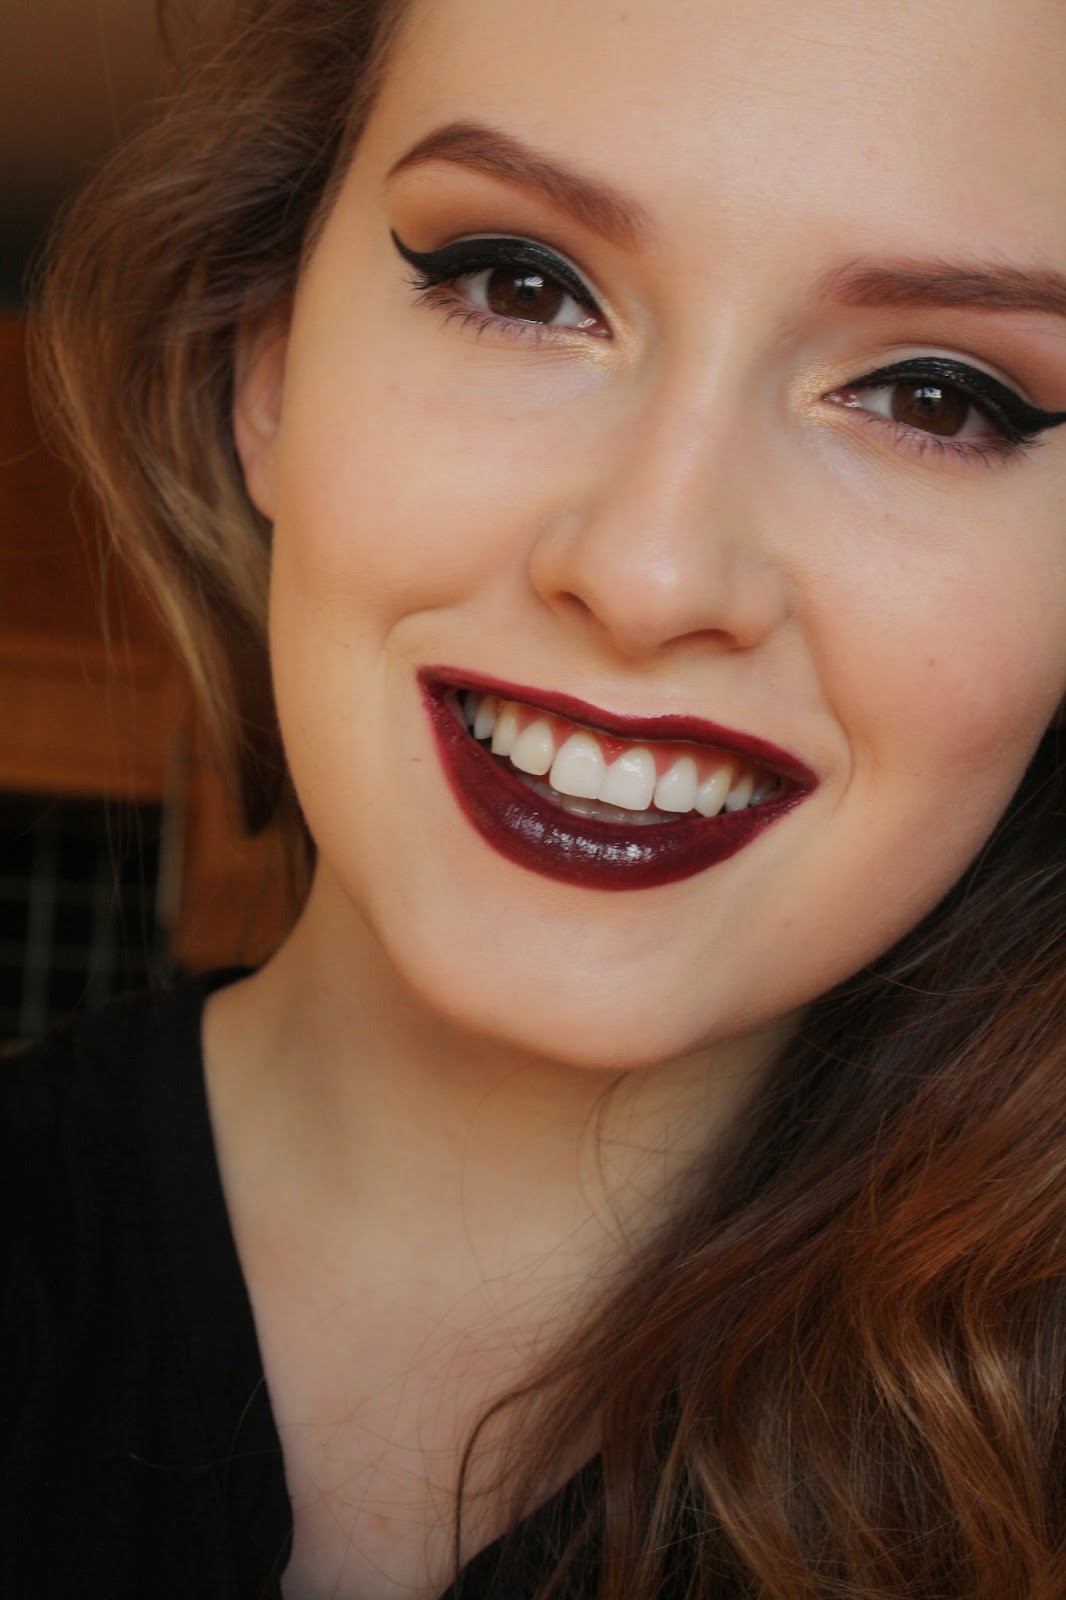
Eye Makeup To Compilment Dark Lips - Step By Step
Monday, 5 January 2015
Step 1 : Prime your eyelid using a concealer(i used collection 2000 lasting perfection concealer) to make the pigment in your eyeshadow more vibrant use your finger to blend it out.
Step 2 : Using a fluffy blending brush blend some light brown eyeshadow(i used Inglot eyeshadow) into your crease . Make sure its well blended .
Step 3 :Using black eyeliner(I used Inglot gel eyeliner) starting from the inner corner of your eye drag it out wards an create a flick at the end .
Step 4 : Apply a black eyeliner pencil(I used MUD pencilled liner) on the tight line of your eye .
Step 5 : Using a medium sized eyeshadow brush apply some gold eyeshadow to your inner tear duct (I used half baked from the Urban Decay Naked 2 palette) .
Step 6 : Apply your favourite mascara (i used Maybelline Great lash blackest black mascara) .
Sorry for the lack of posts the last while , had plans for something new for my blog in 2015 but I'm putting it off for a while because a few things (college etc) . So for now I will be doing my normal make up blog posts . Hope everyone had a nice christmas and have a happy new year :) .
5 reason you need this eyeshadow colour
Friday, 5 December 2014
Todays Blog post is about my most reached for eye shadow (Inglot Eyeshadow - Matte Brown 342) and who would of thought ? It just looks like a boring old matte brown shadow but trust me you need it. After purchasing the Urban Decay naked 2 palette I realised I was in need of some matte eye shadow for my kit . Too much shimmer eye shadow doesn't look great on older skin as the can sometimes make the wrinkles and fine lines around the eye area more noticeable also you really can go wrong with a matte eye shadow .My friend bought me an Inglot freedom system palette with 3 eye shadows and there was a place for one more eye shadow so when I was in Dublin a while after that I decided to head towards there South Anne Street Inglot store and purchase this eye shadow so that my Inglot palette was complete . Here are 5 reason why I love this eye shadow so much :
1 . The price. €6 ! I personally think its a bargain for the quality and the amount of the eye shadow you get . Mac eyeshadow is €10 and has a lot less product in it .
2 . Works well on every eye colour . Teenagers , Adults , people with green , blue or brown trust me it will suit you ! Great colour for those who aren't that confident at doing there own make up . Also matte brown will never go out of trend.
3. Its the perfect eye shadow transition colour . Especially with a brown , black or orange smokey eye look. A transition colour is a colour you blend out in the socket line of your eye so you don't have a harsh lines between your brow bone & your eyeshadow . Your eyeshadow will look well blended and will gradual fade into you skin.
4. Great Eyebrow Colour . Believe or not it works on blondes , light brunettes and red heads . It just depends how lightly or strongly you apply it . I like to use and angled eyebrow brush to apply it and conceal around my eyebrows then to make my eyebrows look more defined .
5. Nicely pigmented . Inglot eyeshadows are probably the most popular product from Inglot because they have a nice texture and are really pigmented . If you don't believe me look up more reviews on there eyeshadows and I am sure they will all say the same.
I have used this eyeshadow in my previous make up looks on my blog , have a look if you want to see this eyeshadow being used .
1 . The price. €6 ! I personally think its a bargain for the quality and the amount of the eye shadow you get . Mac eyeshadow is €10 and has a lot less product in it .
2 . Works well on every eye colour . Teenagers , Adults , people with green , blue or brown trust me it will suit you ! Great colour for those who aren't that confident at doing there own make up . Also matte brown will never go out of trend.
3. Its the perfect eye shadow transition colour . Especially with a brown , black or orange smokey eye look. A transition colour is a colour you blend out in the socket line of your eye so you don't have a harsh lines between your brow bone & your eyeshadow . Your eyeshadow will look well blended and will gradual fade into you skin.
4. Great Eyebrow Colour . Believe or not it works on blondes , light brunettes and red heads . It just depends how lightly or strongly you apply it . I like to use and angled eyebrow brush to apply it and conceal around my eyebrows then to make my eyebrows look more defined .
5. Nicely pigmented . Inglot eyeshadows are probably the most popular product from Inglot because they have a nice texture and are really pigmented . If you don't believe me look up more reviews on there eyeshadows and I am sure they will all say the same.
I have used this eyeshadow in my previous make up looks on my blog , have a look if you want to see this eyeshadow being used .
Subscribe to:
Posts (Atom)