

Side Note : I hate my nails , colour and shape I felt like a eagle or some sort of bird. I stuck them on a few minutes before the video and regret it straight away haha .
Step By Step
Step 1 : I moisturised my skin .Step 2 : I primed my eyelids .
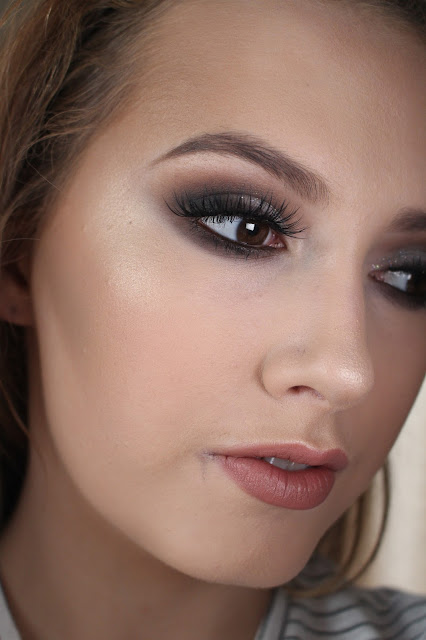
Step 3 : I then got some black eyeshadow and an angled eyeliner brush . I created a wing the way I would with normal eyeliner but it does not to be perfect because you will be smoking it out anyway .
Step 4 :I added some more black eyeshadow and blend it out again .
Step 5 : I then tidied up my wings with a cotton bud and some make up remover .
Step 6 : To make the eyeliner a little more defined and polished looking I added some liquid liner .
Step 7 : Next I did my eyebrows by brushing them up then across to get the shape . I then applied an eyebrow gel with and angled brush . I started at the outer part of my eyebrow and worked my way to the front of my eyebrow . I lightly applied the eyebrow gel to the front of my eyebrows for a more natural look . To evenly distrubt the eyebrow gel throughout my eyebrows I lightly brushed them again.
Step 8 : I then applied some concealer under my eyes .
Step 9 : Using a light brown eyeshadow I blended it out on my bottom lash line .
Step 10 : I applied my foundation using a stippling brush .
Step 11 : I set my foundation to keep it in place all day .
Step 12 : I then went ahead and highlighted the tops of my cheekbones ,my cupids bow (centre of your top lip) and the tip of my nose .
Step 13 : I applied some blush to the apples of my cheeks .
Step 14 : To warm up my skin I applied some warm toned bronzer.
Step 15 : I lined my lips with a red lipliner then filled it in using a matte red lipstick .
Step 16 : After I did that I applied some mascara to my top and bottom lashes .
Step 17 : I went in with the brown eyeshadow I used on my bottom lash line and blended it out in my crease using a fluffy blending brush.
Step 18 : Using a damp eyeshadow brush I packed on some gold eyeshadow to the inner part of my eyelid .
Step 19 : I highlighted my inner tear duct with a pearlescent white to brighten up my eyes .
Product List
EyesBlack eyeshadow : Urban decay eyeshadow- Blackout
Liquid eyeliner :Essence black liquid liner
Light Brown eyeshadow : Make up geek eyeshadow - latte
Gold eyeshadow : Urban Decay Eyeshadow - Half Baked
Inner tear duct highlight : Rimmel Colour Loose Eyeshadow
Mascara : Maybelline Mascara- Great Lash Blackest Black
Eyebrows : Anastasia beverly hills dip brow pomade- dark brown
Skin
Moisturiser : Embryolisse lait creme concentre
Foundation : LOreal Lumi Magique Foundation
Highlighter : Sleek Make up Highlighter (theres currently a sale on the sleek make up website, yay!)
Blush : Sleek makeup blusher
Bronzer : Make up Designory Bronzer - Endless summer
Lips
Lipliner : No idea what brand this is
Lipstick : Sleek makeup -stiletto
Hope you all enjoyed this video tutorial. This look would even be a nice make up look for a night out if you paired it with some fake eyelashes . If you have any questions feel free to comment below .
Thanks for watching/reading
Alannah x

The video is really helpful!
ReplyDeleteHave a great weekend dear :)
http://beautyfollower.blogspot.gr
Thank you very much , you too :)
Delete